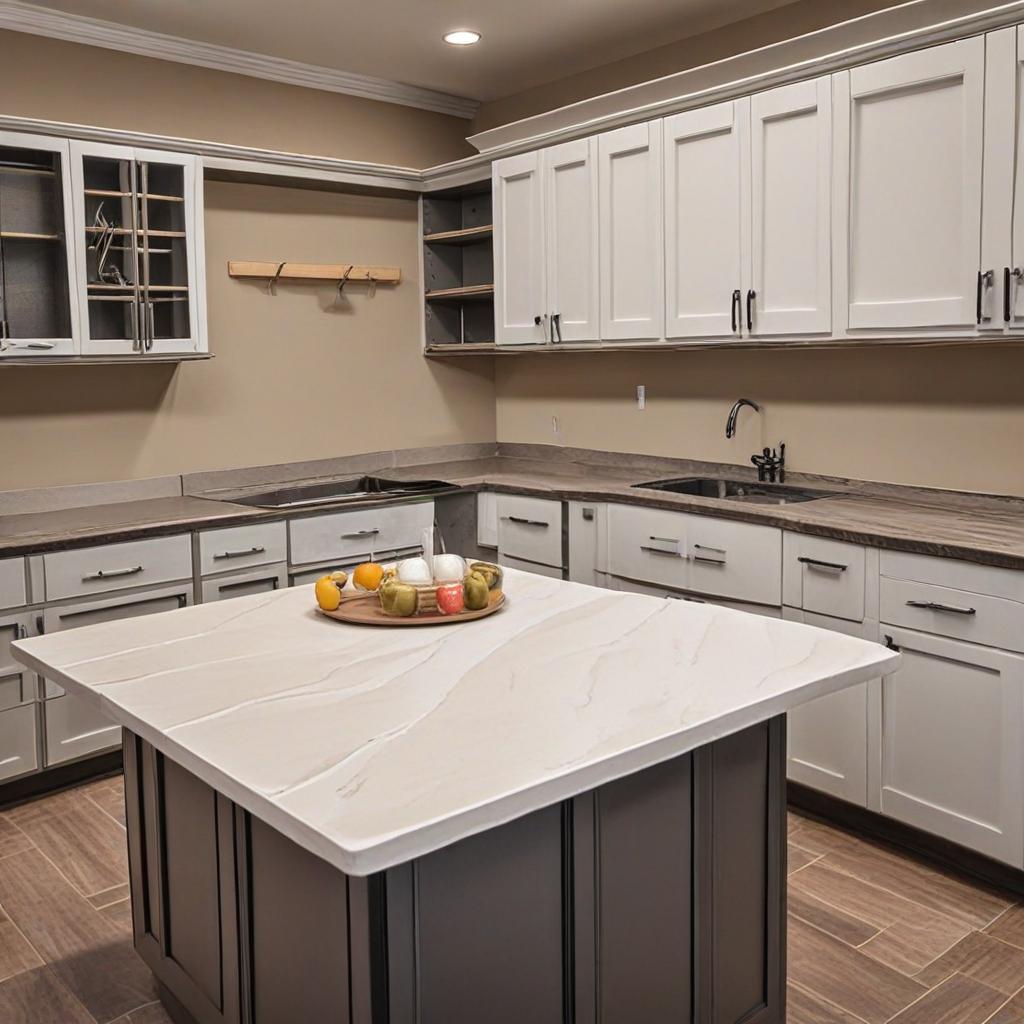
In this comprehensive guide, homeowners in Chandler can learn the step-by-step process of installing cabinets to perfection. From measuring and planning to assembling and installing, this guide covers all the essential steps for a successful cabinet installation. With expert tips and tricks, homeowners can ensure a smooth and efficient installation process, achieving a beautiful and functional addition to their home. Say goodbye to cabinet installation stress and hello to a stunning and organized space with this step-by-step guide.
The Importance of Proper Cabinet Installation for Homeowners
When it comes to home renovation and remodeling projects, cabinet installation is often overlooked. However, proper cabinet installation is crucial for both functionality and aesthetic appeal of your home. Whether you are installing new cabinets or replacing old ones, it is essential to do it right. In this blog post, we will provide you with a step-by-step guide to perfect cabinet installation, specifically in Chandler, Arizona.
Step 1: Measure and Plan
The first step in any cabinet installation project is to measure and plan. Measure the space where the cabinets will go and make sure to account for any obstacles such as appliances, windows, or electrical outlets. Once you have accurate measurements, you can start planning the layout of your cabinets. Consider the traffic flow in the room and how you want the cabinets to function for your needs.
Step 2: Gather Materials and Tools
Before starting the installation process, make sure you have all the necessary materials and tools. This includes the cabinets themselves, hardware, screws, level, drill, and screwdriver. It’s essential to have everything on hand to prevent any delays in the installation process.
Step 3: Remove Old Cabinets (If Applicable)
If you are replacing old cabinets, make sure to remove them carefully. Start by disconnecting any plumbing or electrical connections and then unscrew the cabinets from the wall. Use caution when removing the cabinets to avoid any damage to the walls or surrounding areas.
Step 4: Install the Cabinets
With all the prep work done, it’s time to start installing the cabinets. Begin by installing the upper cabinets first, using a level to ensure they are straight and even. Once the upper cabinets are in place, you can move on to the lower cabinets. Use shims to level and support the cabinets before securing them to the wall. Make sure to secure all cabinets to the wall using screws for added stability and safety.
Step 5: Add Finishing Touches
Once all the cabinets are installed, you can now add the finishing touches. This includes adding hardware and adjusting the cabinet doors for a perfect fit. Make sure to adjust the hinges and drawer slides to ensure smooth opening and closing of the cabinets.
The Benefits of Hiring a Professional
SubHeading7Text: While it is possible to do cabinet installation yourself, it is always best to hire a professional. Professional cabinet installers have the expertise and experience to ensure that your cabinets are installed correctly and securely. They can also offer valuable advice on the best layout and design for your specific needs.
Final Thoughts
Proper cabinet installation is essential for any homeowner in Chandler, Arizona, looking to improve the functionality and aesthetic appeal of their home. By following this step-by-step guide, you can ensure that the process goes smoothly and the outcome is perfect. And remember, it’s always best to leave cabinet installation to the professionals for a flawless and hassle-free experience.
